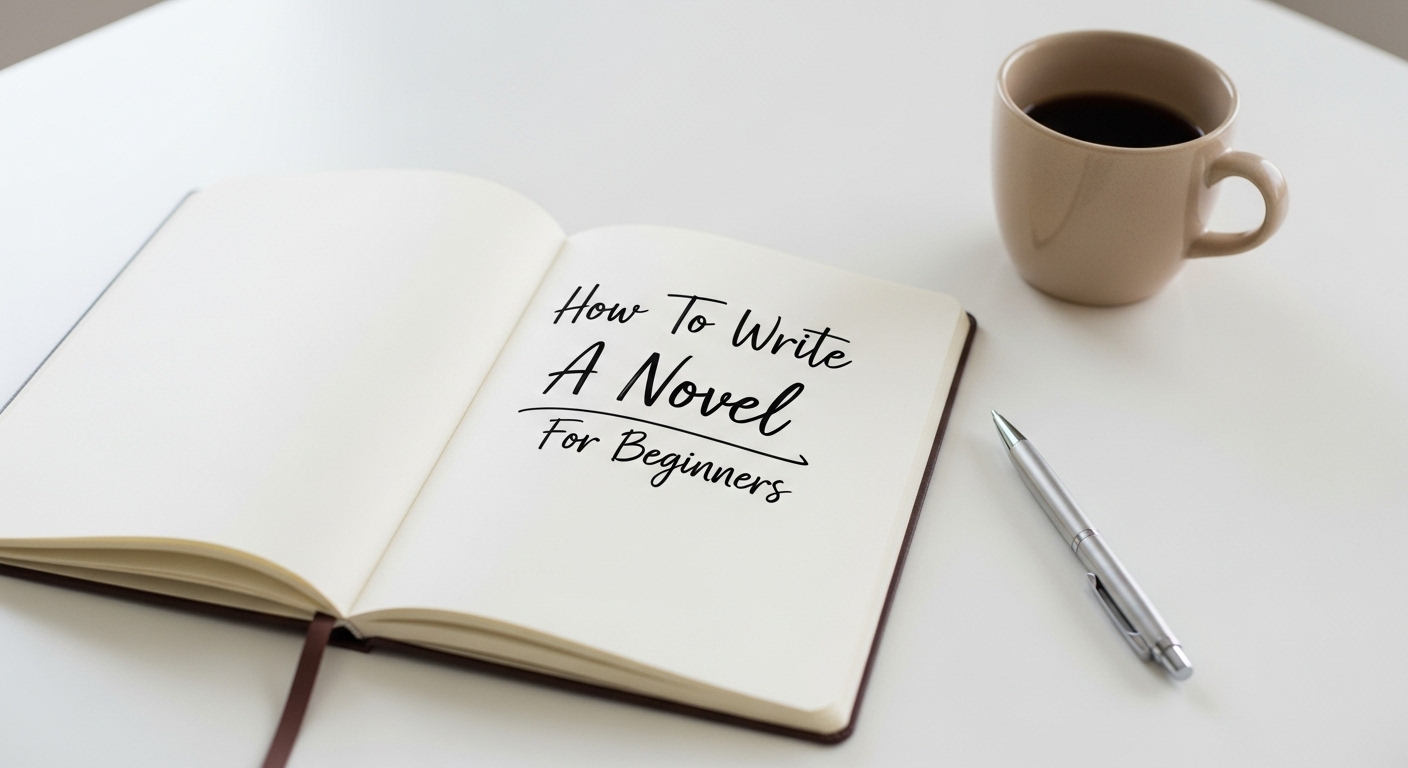
How To Write A Novel For Beginners – A Complete Guide to Getting Started
Publish Your Book View 50% off Pricing
Writing your first novel is like stepping into an entirely new world—one built from your imagination, fueled by your emotions, and brought to life through your words. For beginners, the process can feel intimidating, confusing, and sometimes overwhelming. But with a thoughtful approach, patience, and the right tools, anyone with a story to tell can become a novelist. This comprehensive guide will walk you through the entire journey—from the spark of an idea to a polished manuscript ready for readers.
Table of Contents
ToggleUnderstanding What a Novel Is
Before you dive into writing, it’s crucial to understand what defines a novel. A novel is a long-form piece of fiction, typically over 40,000 words, that features a structured plot, developed characters, and a consistent narrative arc. It can fall into any genre—romance, thriller, fantasy, mystery, historical fiction, or literary fiction—and is often divided into chapters.
Step-by-Step Guide to Writing Your First Novel
Starting your first novel can feel overwhelming, but breaking it into simple steps makes the process manageable. Follow this clear path from idea to finished manuscript.
Step 1: Start With a Strong Idea
Every novel begins with an idea. It could be a scene, a character, a setting, a question, or a “what if” scenario. Take time to explore different inspirations—personal experiences, dreams, news articles, or conversations can all spark something creative. Once you have an idea, write a short summary or a few lines about what excites you most. This will become the heart of your novel.
Step 2: Define Your Genre and Audience
Knowing your genre helps shape your plot, tone, and style. Are you writing a cozy mystery or a dystopian sci-fi? Who will be reading your novel—young adults, adults, or middle-grade readers? Understanding your audience also affects your vocabulary, theme, and pacing. This clarity will guide your choices as you write.
Step 3: Create Memorable Characters
Great novels are rooted in characters readers care about. Start with your protagonist: Who are they? What do they want? What’s stopping them? Flesh out your main and supporting characters by exploring their motivations, backstories, relationships, and flaws. Try creating character profiles or answering interview-style questions to dig deeper into their psyche.
Step 4: Build a Plot That Keeps Readers Hooked
A compelling plot usually follows a basic structure:
- Introduction – Establish setting, tone, and characters
- Inciting Incident – The event that sets the story in motion
- Rising Action – A series of conflicts or challenges
- Climax – The turning point or most intense moment
- Falling Action – Consequences of the climax
- Resolution – Loose ends are tied up
Even if you’re a “pantser” (writing without a detailed plan), having a general outline helps prevent getting stuck. You can use tools like the Three-Act Structure, the Hero’s Journey, or Save the Cat to guide your storytelling.
Step 5: Decide Your Point of View and Tense
You’ll also need to decide how your story will be told:
- First-person: “I walked into the room…” (intimate, subjective)
- Third-person limited: “She walked into the room…” (follows one character)
- Third-person omniscient: “They all walked into the room…” (godlike narrator)
Also choose your verb tense—past tense is most common, but present tense can provide immediacy.
Step 6: Create a Writing Schedule
Writing a novel takes time. Set manageable goals:
- Write 500–1000 words a day
- Choose a consistent time and place
- Use writing tools or apps for motivation
Avoid burnout by taking breaks and remembering progress over perfection. A first draft doesn’t have to be good—it just has to exist.
Step 7: Embrace the First Draft
The first draft is where you get the story down. It will be messy, incomplete, and full of inconsistencies. That’s okay. The goal here is momentum, not mastery. Silence your inner critic and allow the words to flow. You can’t edit a blank page, but you can fix a rough draft.
Step 8: Revision and Self-Editing
After completing your draft, step away from it for a few days or weeks. Then return with fresh eyes. Begin the self-editing process by:
- Fixing plot holes or inconsistencies
- Strengthening character development
- Eliminating unnecessary scenes
- Improving pacing and transitions
Read your manuscript aloud, print it out, or change the font to view it differently. This helps spot errors you may have missed.
Step 9: Professional Editing and Proofreading
Even the best writers need editors. Once you’ve self-edited, it’s time for professional eyes.
- Developmental Editing: Focuses on big-picture elements like structure, plot, and characters
- Line Editing: Improves sentence flow, tone, and style
- Copyediting: Fixes grammar, punctuation, and spelling errors
- Proofreading: Final polish before publishing
Professional editing enhances your book’s quality and readability. For budget-conscious writers, you can hire freelancers or join writing critique groups for feedback.
Step 10: Formatting and Manuscript Preparation
Before you publish or submit, your manuscript needs to be properly formatted:
- Use a readable font like Times New Roman, 12pt
- Double-space your lines
- Include page numbers
- Follow publisher or agent guidelines
For self-publishing, also format for eBook and print layouts using tools like Vellum or Microsoft Word templates.
Step 11: Explore Publishing Options
There are three primary routes to publishing:
- Traditional Publishing – Submit to a literary agent or publisher. If accepted, they handle editing, marketing, and distribution.
- Self-Publishing – You control the entire process. Platforms like Amazon KDP and others allow you to publish in print and eBook formats.
- Hybrid Publishing – A mix of both, offering professional services while you retain more creative control.
Each route has its pros and cons, so choose the one that aligns with your goals and timeline.
Step 12: Cover Design and Book Blurb
Your book’s cover is the first impression. Whether hiring a designer or using a template, make sure it fits your genre and looks professional.
Your blurb (back cover or online description) must hook potential readers. Focus on stakes, the protagonist’s journey, and what makes the book unique—without giving away too much.
Step 13: Final Proofreading Before Release
This is your last chance to catch typos or formatting issues. A final proofreading pass ensures your book is polished, consistent, and error-free. It’s worth investing in this final step to maintain credibility and professionalism.
Step 14: Prepare for Launch and Marketing
Think about how you’ll promote your novel:
- Build an author website
- Create social media accounts
- Collect reviews through beta readers or ARC reviewers
- Submit to book bloggers or newsletters
- Host giveaways or book signings
Marketing begins before your release and continues well after. Persistence is key to building visibility.
Step 15: Keep Writing and Improving
Finishing your first novel is a huge accomplishment—but it’s only the beginning. Keep reading, studying the craft, and writing regularly. Each new project will sharpen your skills and bring you closer to mastery.
Final Thoughts
Writing a novel as a beginner is both a creative challenge and an emotional journey. While there’s no single “right” way to write a novel, following these steps can help you avoid common pitfalls and stay motivated. Don’t rush the process—each draft, edit, and revision brings your story closer to its best version. Most importantly, trust your voice. Every great novelist started as a beginner who didn’t give up.
FAQs
Q1: How long does it take to write a novel?
It depends on your pace, but typically 3 months to 1 year.
Q2: Do I need an outline before writing?
Not necessarily, but having one helps structure your story and avoid plot holes.
Q3: Can I write a novel without experience?
Yes. Writing consistently and learning as you go is how most authors begin.
Q4: What’s the difference between editing and proofreading?
Editing improves content and flow; proofreading corrects grammar and typos.
Q5: Should I self-publish or seek a traditional publisher?
Both are valid. Choose based on your goals, budget, and level of control desired.


